Before Proceeding, CLICK HERE to see a listing of Safety Rules that will help you avoid Personal Injury.
To view a brief (few-seconds long) video clip of each step being performed click on the video in each section.
Step 1
Tilt the worktable to 45° and lock it into position. Then, mount the rip fence on the table.
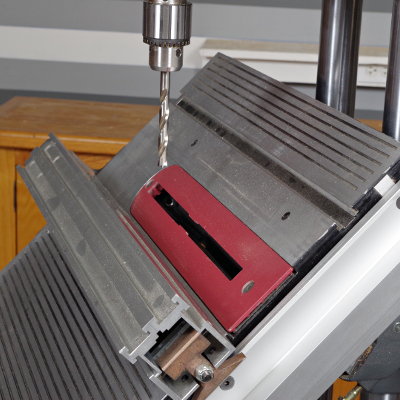
Step 2
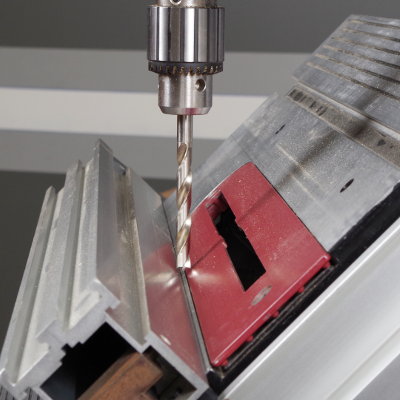
Install a bit into your chuck and move the worktable in or out until the tip of the bit is dead-center on the “V” formed by the fence and worktable.
Step 3
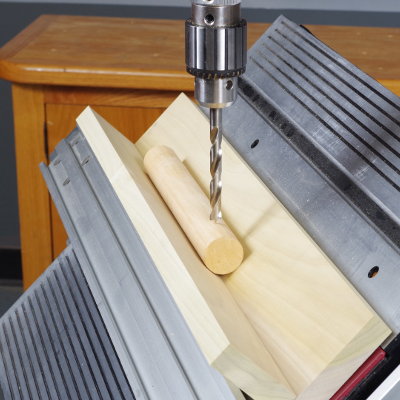
Set your hole dept as explained previously and drill your holes.
Note: If you will be drilling through-holes, you will have to use a piece of scrap wood against your rip fence face and a piece of wood on the table to avoid drilling holes in your table and fence
See How Simple That Was!
Now that you’ve learned all about your Shopsmith Vertical Drill Press, you’re ready to move on to the next Woodworking Operation — using the Horizontal Boring Machine. Watch your Mailbox for the Horizontal Boring Machine email, Coming soon!
WANT MORE INFORMATION ON DRILLING? CLICK HERE!