To view a brief (few-seconds long) video clip of each step being performed click on the video in each section.
Step 1
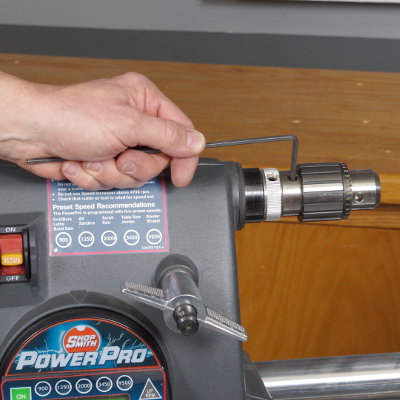
With the machine in horizontal position, start by attaching the drill chuck to the spindle. Tighten it securely using your 5/32″ Allen wrench.
Step 2
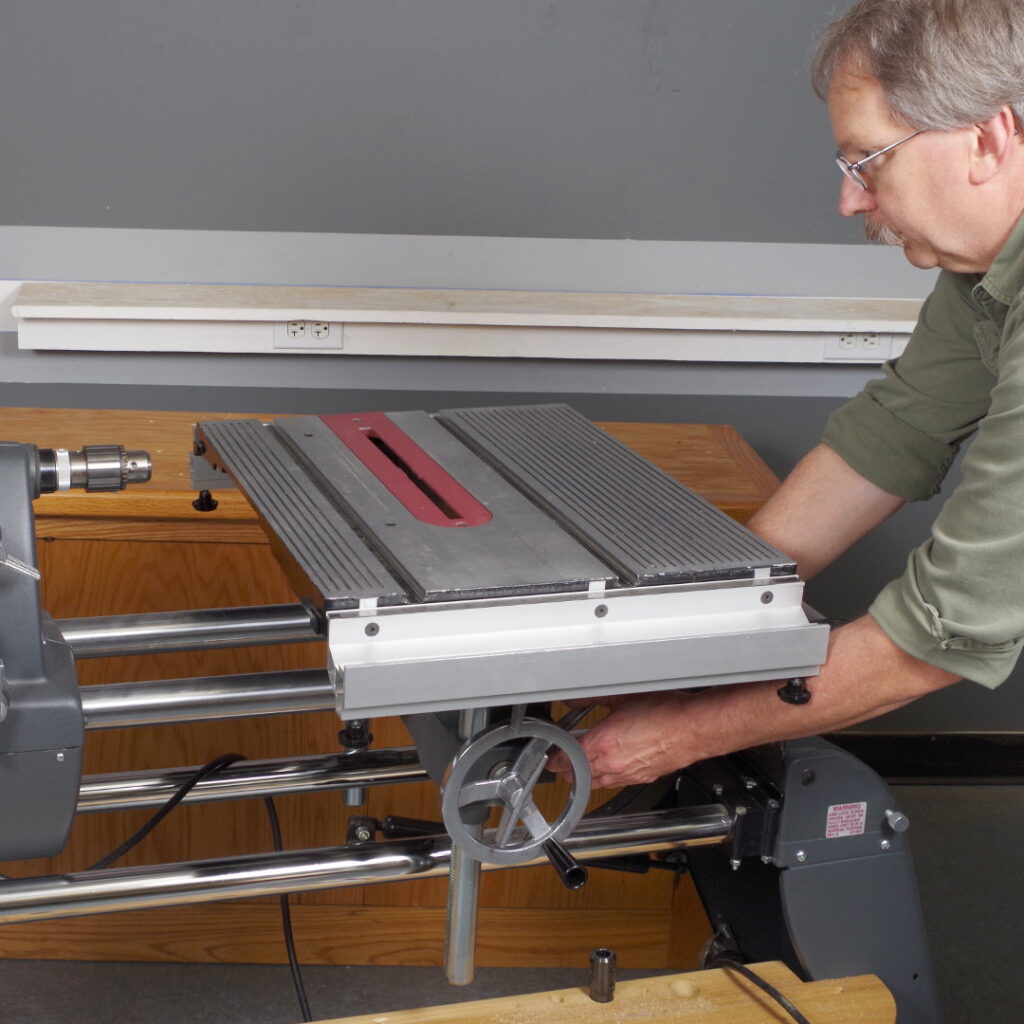
Next, in preparation for boring, position the table carriage near the Smart Motor with the worktable installed. You can adjust its position to the ideal distance later, when you set-up for a specific task.
Step 3
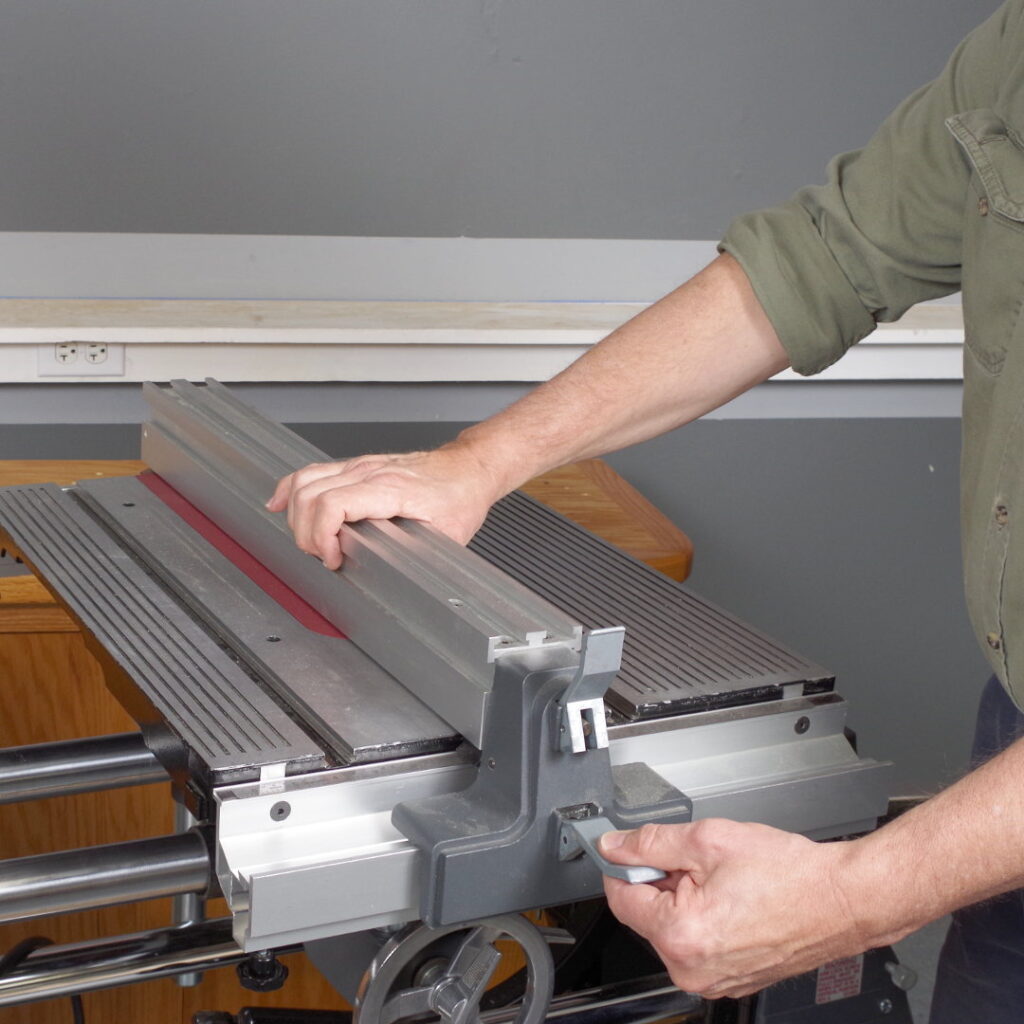
Attach your rip fence to the worktable. You will use the fence as a backup to keep your workpiece from moving on the table surface during your horizontal boring operation(s).
See How Simple That Was!
Now that you’ve located and assembled the components you’ll need for Horizontal Boring, CLICK HERE to get started by performing the most common horizontal boring operation, doweling — where you join two (or more) narrow boards together, to create a wide board or panel.